Sunday, November 14, 2010

Desk Work.

I got some serious work done on my Ready Room Desk. It's made mostly from oak plywood. The top of the desk is 1" thick and the legs are 1/2" thick. Everything is screwed'n'glued. I will be sanding it as a next step, then I will stain it, paint what needs painting, and add some greeblies to trek-i-fy it.


Thursday, November 4, 2010

It has begun.

So I took Monday and Tuesday and cleaned the room and closet out. I reorganized all the tools and what not in the closet (more images to come) and I installed the wall mounted TV and entertainment components. It's a small TV but it serves well enough for the space. The foam pylon is only a very rough cut first pass. I used it to center the TV on the wall.

You can see that I have deviated from the model in the positioning of the pylons and the TV. I did this for a few reasons including access to the network cable I use to hook up the Uverse box.

I am currently working on the desk. The oak plywood on the saw horses in these pictures will be the table top. I am working out the details of it and will post about it here as it develops.

Here's the album again.


Wednesday, October 27, 2010

Heads-Up / News for the Weekend

The official clean-up and starting the re-build begins this weekend! I even took Monday and Tuesday off to have a little extra time. I have to finish up a project for a buddy on The Trek prop Zone to pick up on Saturday, then it’s no holds barred Ready Room work.

I’ve drawn out all my templating, redesigned the desk (adding a raised button pad to turn on and off a light source,) and even moved some of the decorative elements around in the room and figured out some lighting.

I have my first round of purchases price listed and sourced. First to go in the room will be the two side Pylons (slightly redesigned from the model), the TV Wall mount and shelf system, and organization in the closet.

If I have time, I will start on the desk. I will post some images of the desk design soon. It will be made from some nice oak plywood and will include some interesting design elements I found in my scrap bins.

So stay tuned for some updates with pictures after the weekend.

Friday, October 15, 2010

The Rundown - In Model Form

After figuring out my design criteria and desired elements, my first step in creating my Ready Room has been figuring out just what exactly I want to do with the room. So drawing upon my background in drafting and modeling, I decided to make a rough ¾ scale model of the room I am using in my house for the Ready Room.

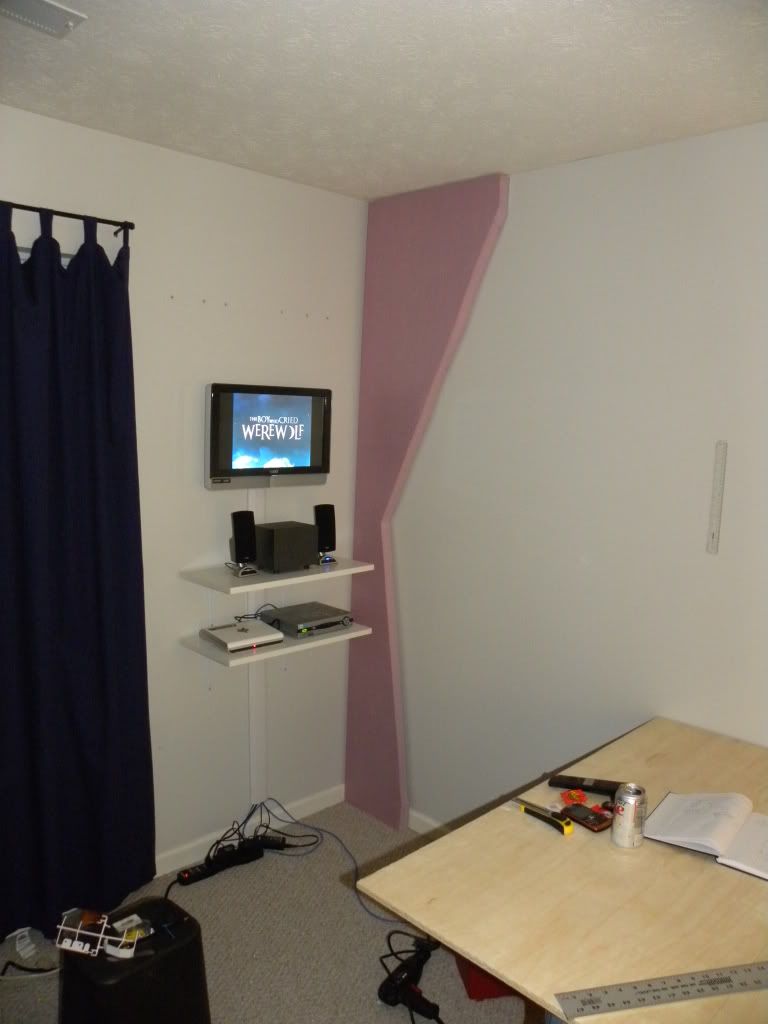
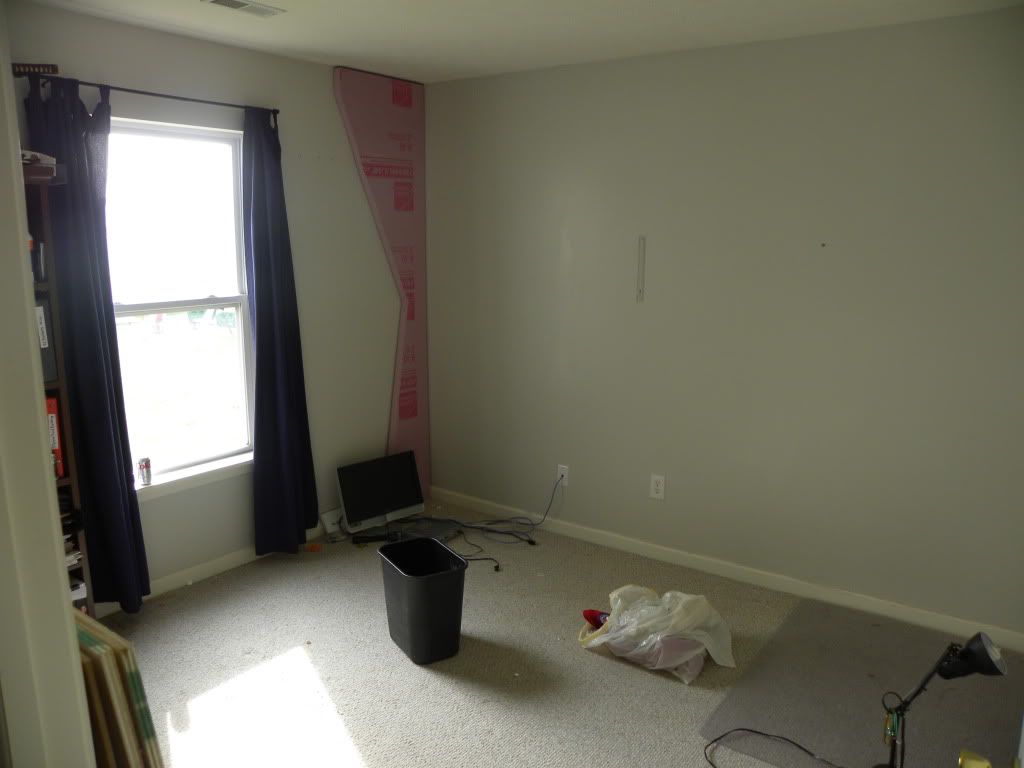
This room is a 10’ wide x 11’ long x 8’ high rectangle with one large window and two doors (an ingress/egress and a closet.) There is no lighting installed – the switch is wired to an outlet for a lamp. Ethernet cable has been routed to the room for TV Access. The walls are luckily already a nice shade of gray.

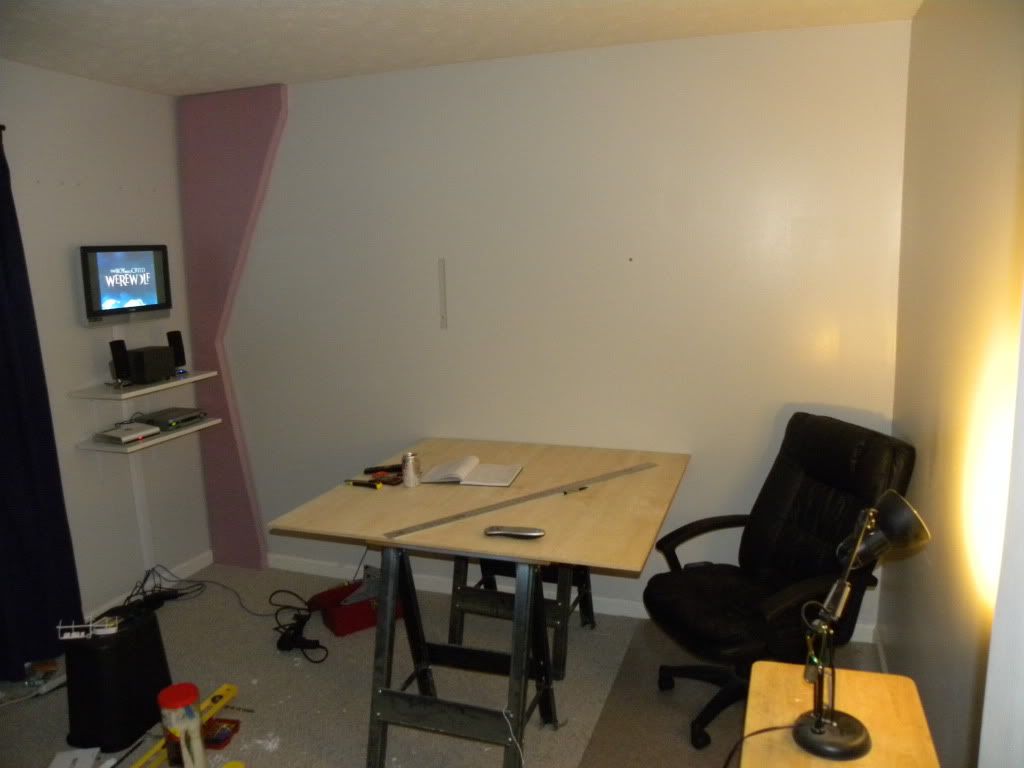
After numerous sketches were made I settled on most of the elements in the room. A gray & blue color scheme (the model does not accurately show the color tones I will end up using), the shape and dimensions of the pylons and cross beam, the general shape and construction of the desk, placement of shelves, things like that.

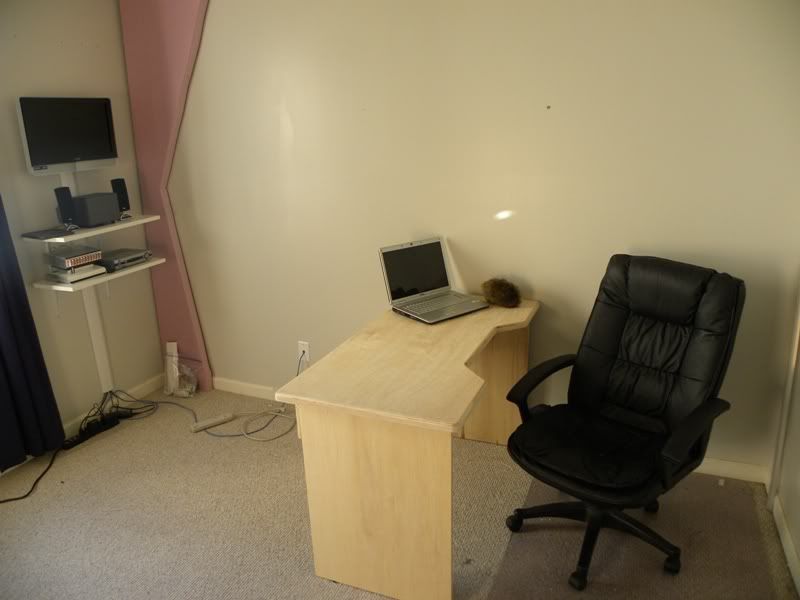
The desk will be made from a 3’ x 5’ wood topped table and some lumber I have in the shop. I will re-finish it to match the dark wood of the book shelf. The base of the desk will be ‘arted up’ to match the Trek Décor. I am debating on installing an LCARS button panel flush with the surface of the desk to one side or the other, under which will be hidden a small tub or tray to put my remotes in mounted to the underside of the table and further hidden by the table base.

The pylons and cross beam will be made from single and double layers of pink sheet foam insulation cut sanded and painted.

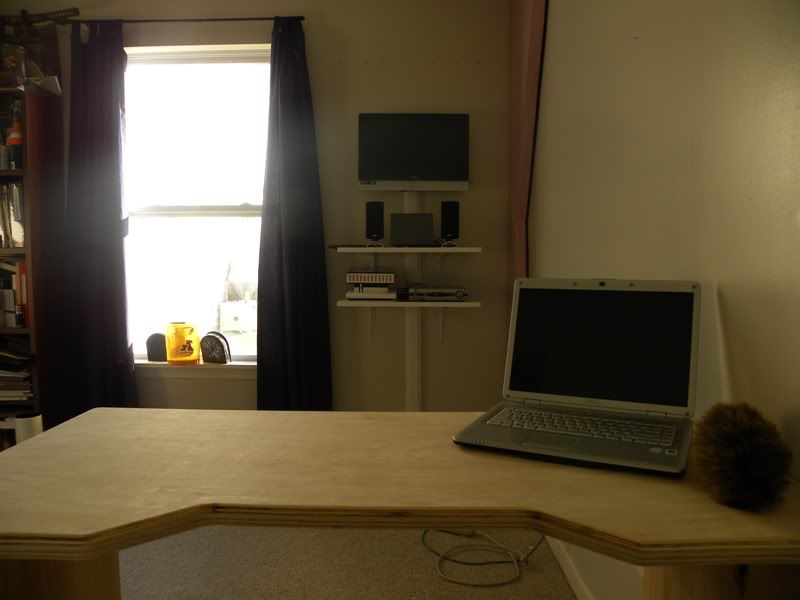
The wall mounted replicator is a project I already have mostly finished. You can read more about it here.

Items still on the fence: window treatments, wall shelf material/construction, lighting and door coverings.

The lighting is still up for grabs – I need to do a little shopping before I start in on them. The lighting has to be bright enough to light the whole room, but dim enough not to be too annoying and distracting while studying and other general work. A hinged lamp with magnifier will still be available for detail hobby work but otherwise will not normally be present in the room.

I’d like to mount/hide some soft lighting in the cross beam stretching across the back of the room from pylon to pylon.

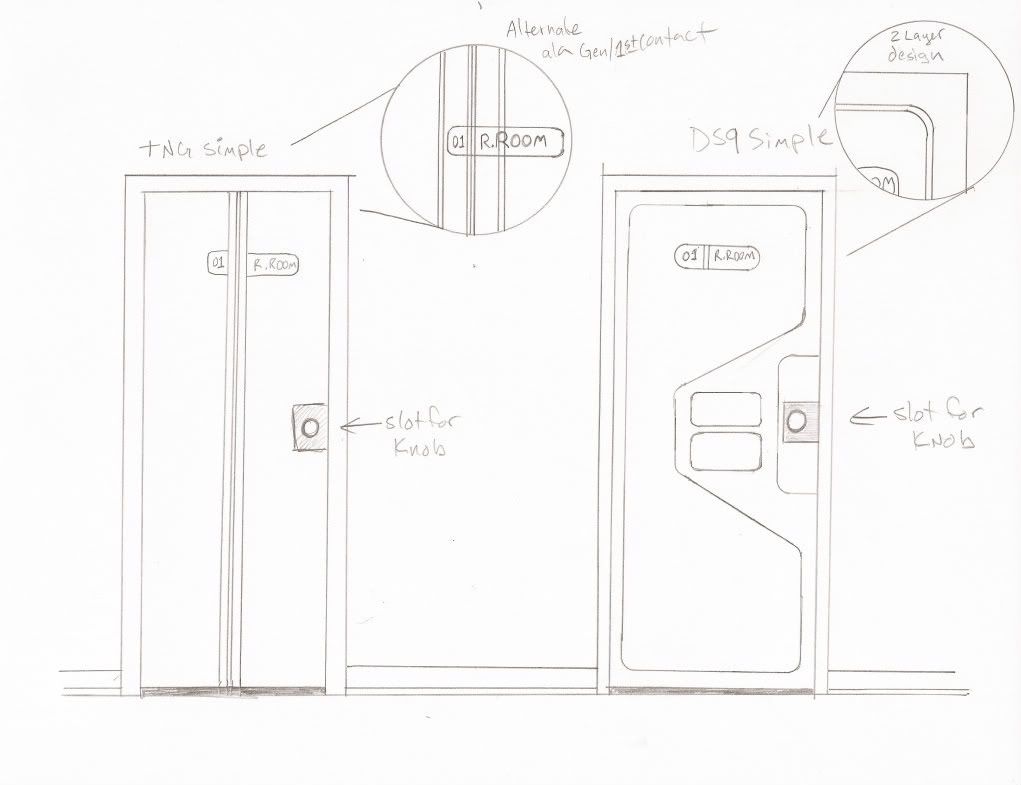
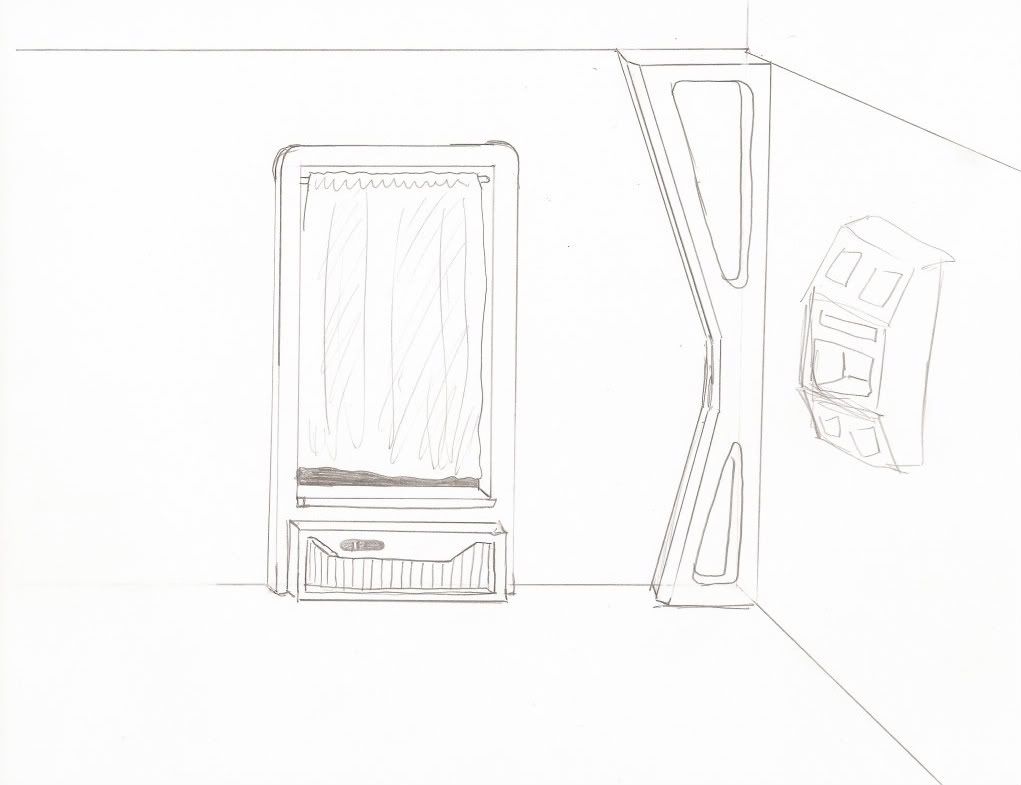
I have two drawings showcasing the latest ideas for the doors and window. These drawings are not to scale. The door coverings will likely be made from thin foam sheet insulation in single or multiple layers and painted blue to match the pylons. The wall treatments will also be made from foam sheet insulation – he color scheme of this item is still not decided.

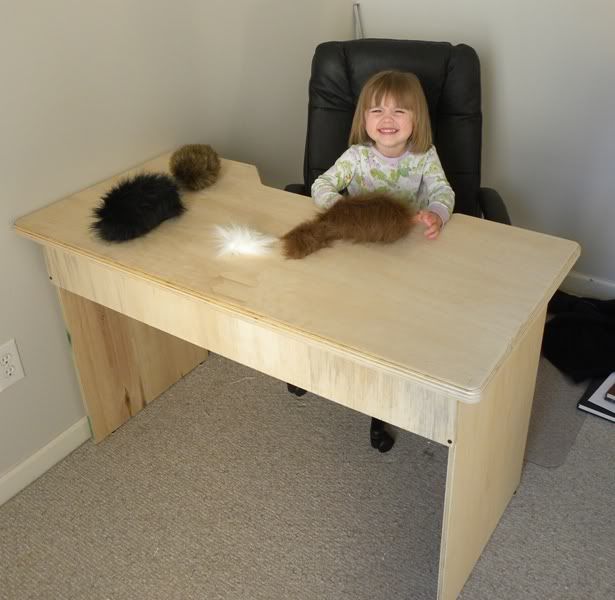
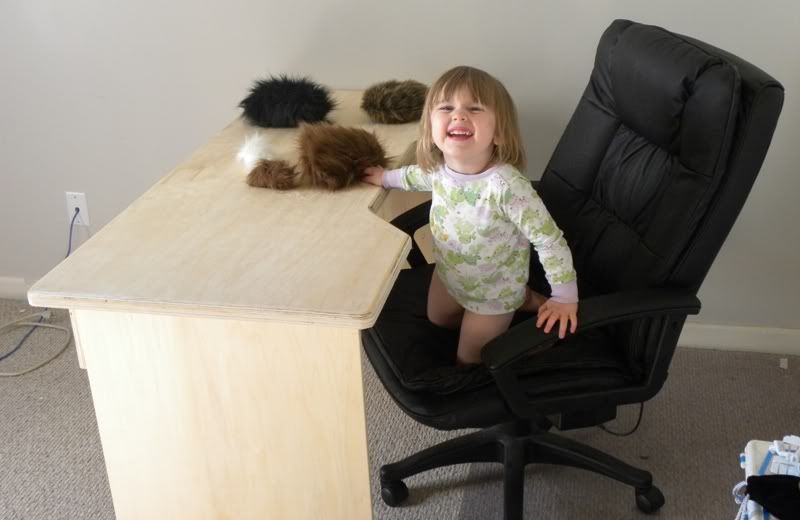
Here are a few pictures. The whole Ready Room Photo Album can be found here.

Elements/items I want to include in the room/closet

o Extra wall shelving
o Wall mounted replicator
o Custom wood top desk made from my existing worktable
o Bulkhead pylons
o Bulkhead cross beam
o Wall mounted or hidden-in-pylons/cross beam lighting
o Door covers
o Wall mount with shelving for my TV and TV accessories
o Organized storage with labeled bins and easy access

Project Stipulations

1. Nothing permanent must be added to the room. Resale value is a factor – the house will likely be sold in the next 4-5 years. I am lazy enough to not want to do a lot of work putting things back to rights after all is said and done.
a. Plant-ons only
b. No holes in ceiling or doors
c. No holes bigger than the occasional nail or drywall anchor in walls
2. No major structural changes to the room or its existing accessories (Doors, switch plates, et al. see point #1)
3. Light weight materials if at all possible.
4. Use/re-use existing on-hand materials as much as possible.
5. Reorganize closet to accept most/all hobby paraphernalia/tools not meant for display

When finished, the room should fulfill the following criteria:

1. Function as a traditional office (desk work, etc.)
2. Usable for in-door hobby building (non-shop building)
3. Usable for sewing
4. Display finished props/other hobby display items and literature tastefully
5. Satisfy my inner Trek nerd when I look at any of the four walls :P
6. Be safe for my 2-year-old daughter

Thursday, October 7, 2010

First Post - An Overview

After years of unfinished projects and an on-hold design aesthetic, I have found that my man-cave/hobby room has gotten out of hand. It's turned into a dumping ground for unwanted tools and junk collected for future projects and unfinished ones. I am clearing it out completely, re-organizing and resetting my work space.

And I am finally going to college (it's been 13 years since I was in High school) and will need an office to take the 7 on-line courses as part of my Bio-mechanical Engineering Technologies degree at Purdue. I also want to be able to pursue my hobbies like building my droid and other things.

With all this in mind, I decided to take this opportunity to totally re-do the room now dubbed my 'Ready Room.' This is pretty exciting as I've been waiting to get our next house to trek-i-fi a room for myself, but now with 4 years of college ahead of me before we can even look at moving I decided the time was nigh.

In my next few posts I will show some of my design ideas - I even built a 3/4 scale model of the room to help me figure things out, so hand me that hyper-spanner over there and lets get to work!